
-
Website
-
3min Explainer Walkthrough

- Generate a Design
-
Page Management

-
Page Editing

-
Form Builder

- Updating Your Navigation Menu
- Creating Page Redirectors
- Posts Management
-
Search Engine Optimization

- Setting Up Google Marketing Tools
- Setting Up Meta Pixel & E-commerce Tracking
- Setting Up Microsoft Marketing Tools
- Setting Up Linkedin Insight Tag
- Optimizing Images For Web
-
Analytics

- Third Party Embed Code
-
3min Explainer Walkthrough
- Contacts
- Marketing
- Commerce
- Apps
-
Settings and Config
- Going Live
- Updating Your Billing Details
- Changing Your Oncord Plan
- Domain Health Checker
- Managing Administrators
- Registering a Domain Name
- Changing Your Domain Name
- Backing Up Your Website
- Choosing an E-mail Host
- Hosting Email With Oncord
- Setting Up Gmail Hosting
- Setting Up Office 365 Hosting
- Setting Up Sub Domains
- Hosting a Sub-Site
Connecting Social Media
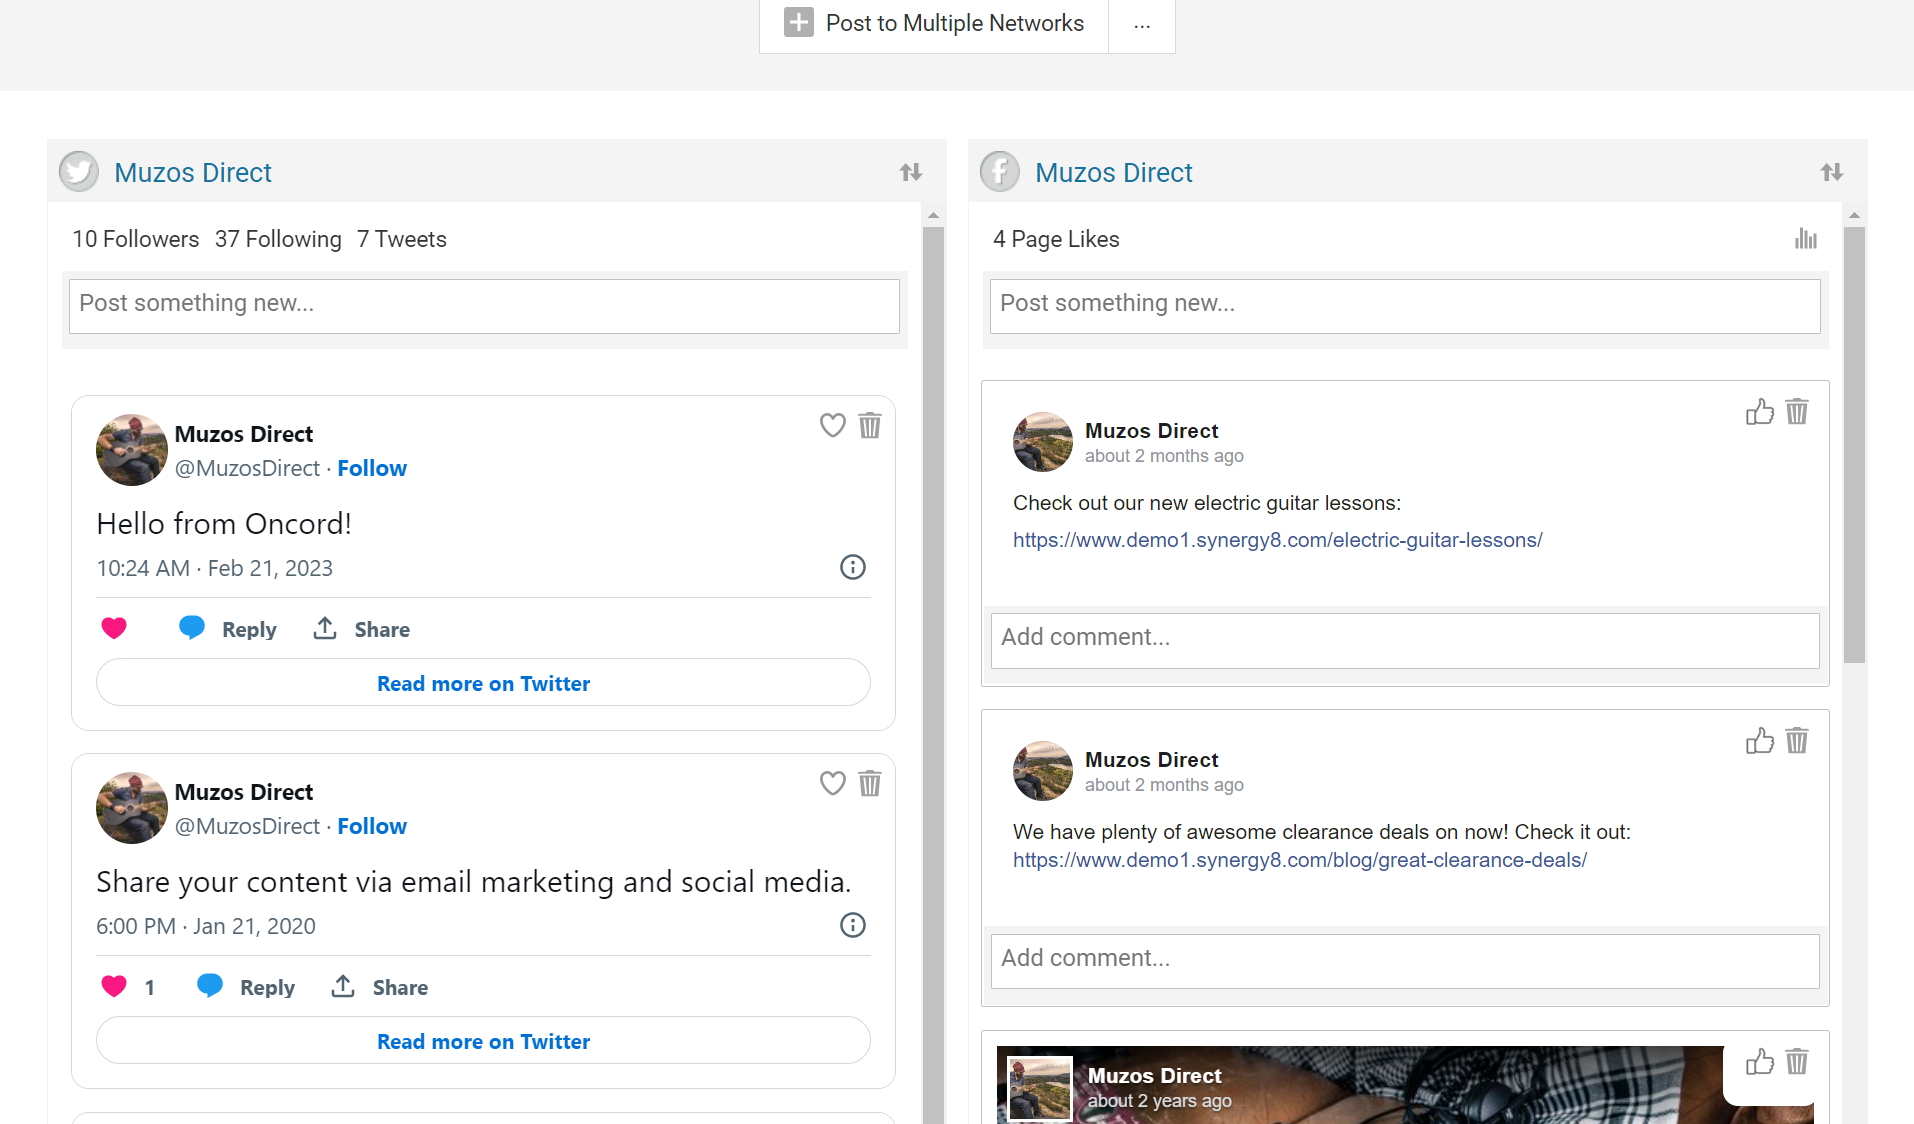
The Oncord Social Media feature allows you to post and schedule content across multiple social media pages, from one place.
Add Social Media Pages
Get started connecting new social networks by selecting the "Social Networking" page from the left-hand sidebar of the Oncord Dashboard.
If you have not added any social networks yet, you'll be presented with a welcome message asking which social network you would like to add.
If you have already added a social network and would like to add more, click the "New Social Network" button on the top right-hand side of the screen.
Tip: It's a good idea to open a new tab and login to your social network before adding it to the dashboard for the first time.
There is no limit on the number of accounts you may add, and you may connect more than one account of the same network type (eg. two Facebook accounts).