
-
Website
-
3min Explainer Walkthrough

- Generate a Design
-
Page Management

-
Page Editing

-
Form Builder

- Updating Your Navigation Menu
- Creating Page Redirectors
- Posts Management
-
Search Engine Optimization

- Setting Up Google Marketing Tools
- Setting Up Meta Pixel & E-commerce Tracking
- Setting Up Microsoft Marketing Tools
- Setting Up Linkedin Insight Tag
- Optimizing Images For Web
-
Analytics

- Third Party Embed Code
- Special Files
-
3min Explainer Walkthrough
- Contacts
- Marketing
- Commerce
- Apps
-
Settings and Config
- Going Live
- Billing
- Domain Health Checker
- Managing Administrators
- Registering a Domain Name
- Changing Your Domain Name
- The Role of DNS Records Explained
- Backing Up Your Website
- Choosing an E-mail Host
- Hosting Email With Oncord
- Setting Up Gmail Hosting
- Setting Up Microsoft 365 E-mail Hosting
- Setting Up Sub Domains
- Hosting a Sub-Site
- Changes
- Website
-
-
3min Explainer Walkthrough
- Generate a Design
-
Page Management
-
Page Editing
-
Form Builder
- Updating Your Navigation Menu
- Creating Page Redirectors
- Posts Management
-
Search Engine Optimization
- Setting Up Google Marketing Tools
- Setting Up Meta Pixel & E-commerce Tracking
- Setting Up Microsoft Marketing Tools
- Setting Up Linkedin Insight Tag
- Optimizing Images For Web
-
Analytics
- Third Party Embed Code
- Special Files
-
3min Explainer Walkthrough
- Contacts
- Marketing
- Commerce
- Apps
- Settings and Config
Adding A Google Map To A Page
Edit or create a website page to get started:
- Log in to your Oncord Dashboard, and select the Pages option, which appears under the Website heading in the left sidebar.
- Edit an existing website page, or click the "New Page" button located on the top of the page and configure a new page.
Inserting a Google Map
Select the insert button located on the left-hand side of the page. Then drag the "Map" element into position on the page.
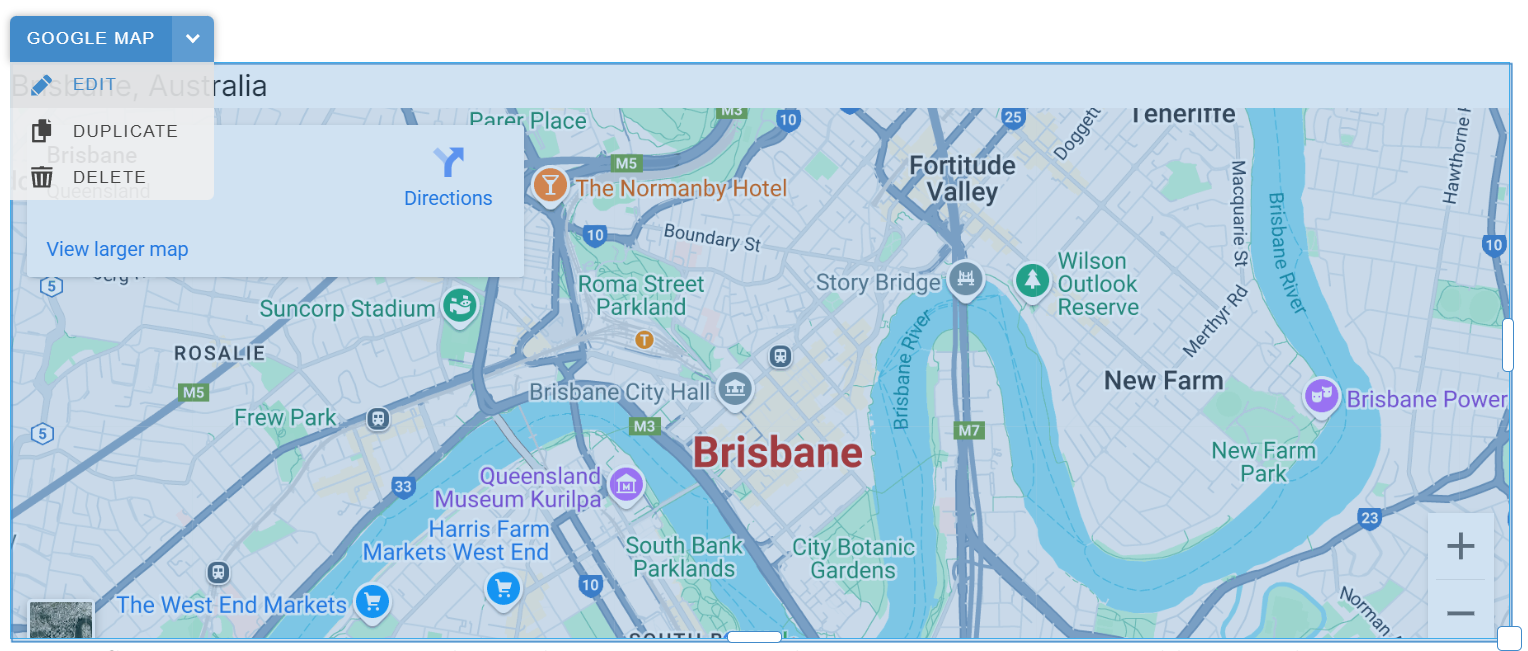
Configuring The Map
To configure the Google Map, click on it to select, then click the arrow to reveal additional options. From there, an "Edit" button will appear, and further configuration options will be displayed in the left panel.
Width & Height - May be set to either a pixel value such as 350px, or a percentage value such as 100%. We typically recommend a width of 100%, which will consume the full width of the container where the map is located, sizing up or down as the screen width changes between mobile and desktop devices.
Edit Marker(s) - Specify the location where you would like a map pin / marker to display. Single-pin Google Maps are free, however a Google API key is required for multi-pin maps (Use API Keys).
Custom Zoom - Specify a zoom level for your Map.